“It’s a bit like when you’re reading one of those Russian dynastic epics. You mustn’t put it down for too long, or you’ll lose the plot.”
I looked up from the knitting I was fixing, to the knitter who’d brought it in, to see an expression of total bafflement on her face.
You mean like Anna Karenina or War and Peace?
Yes! Anna Karenina – exactly! You need to get the whole short rows bit done in one sitting – before you forget how Anna is related to Kitty, or worse still, get your Oblonskys and Vronskys in a muddle.
Ok, I think I get why it’s easy to lose the plot in a 1000 page Tolstoy saga but the plot I’m completely lost with now is what you’re actually talking about and what any of this has to do with short rows. To be honest I don’t think there was any point in the short rows plot that I really understood what was going on.
Ok, let’s put away our 19th century Russian literature, and talk about the stitches.
Previously in knit-land (we can call this the prequel if you like), fabric was made by knitting rows in parallel to each other. If you wanted to create a shape which roughly matched the curve of your shoulders, you’d knit (probably bottom-to-top) going this way and that way along the rows, decreasing at the end of each subsequent row to make some kind of a shoulder-shaped incline along the top edge. The likelihood is that it would have a bit of a messy stepped finish. Then at the very end of your project you’d sew that together with another similarly shaped piece of flat knitting to create a roughly body-shaped garment.
Now we have a taste for knitting sweaters seamslessly in the 3 dimensional shape of our curvy human bodies, we use short rows to add shape to our fabric.
We start (usually working down from the top), along rows or rounds travelling the full width of the fabric, adding in the graduating extra height that our backs have in the centre, by knitting extra rows in that central portion. This middle area of stitches gets worked more times, creating more fabric, than the stitches at the edge (where our shoulders are at their lowest). The result for sweaters is a shape where the rows can be more aligned to the contours of our bodies, than the old-school parallel arrangement. Similarly, if you pick up stitches around a sleeve hole to knit out a sleeve in the round, we use short rows to work the stitches in the central top-shoulder part of the arm hole more times than the stitches at the bottom. So your sleeves don’t grow out of the body at right angles, but emerge downwards from curved shoulders – like your actual arms do.
But what difference does that make? The sweater is made of soft and floppy wool, not steel. Once it’s on my body, isn’t it going to become body shaped by definition?
Well, yes and no. Let’s say you make your sweater as a simple T shape with sleeves sticking straight out of the body. As soon as you lower your arms (which let’s face it, is how we are most of the time), you’re going to stretch the fabric over the shoulders and crease up the fabric under the arms. So you’ll have a whole bunch of excess fabric at your underarm, and there’ll be more of a pull on fabric on the top of the sleeve. Meanwhile a sweater which hasn’t taken the extra height of the back into consideration, may ride up at the bottom, or conversely wrinkle up at the top of the front under the neck.
Ok, I think I get the problem which short rows are trying to solve, but I still don’t understand what I’m doing with all that right-side wrong-side double-stitch wrap-and-turn Japanese, German blah blah.
Think of a short row as a not-full-length row. It’s going to be part of an instruction to turn your work before you get to the complete end of the row or round. If it’s the top of a sweater, the short rows will start by going across the area between the ‘back’ stitch markers, and each subsequent short row will get longer to eventually include the stitches between the left and right sleeve stitch markers.
Ok, so I need to work more rows at the back, but because my sweater is all in one piece I have to work backwards and forwards across that bit for a while without going all the way around to the front. But why all the funny stitch shenanigans? Why can’t I just turn and knit?
Here’s the thing. If you just turn your work in the middle of a row, you get a hole (unless it’s garter stitch but let’s save that for another time). If you ever picked up your knitting and accidentally started knitting in the other direction you’ll know what I’m talking about. There’s a hole because the stitches you’re knitting after you’ve turned, are one row higher than the ones you left behind after the turn. All those short row turning techniques – Japanese, German, Wrap and Turn, Saturday, Sunday, Shadow Wraps.. each of them is just a different way of closing the gap. They’re different but all have two steps to them: 1. Doing something twiddly with the stitch at the point where you turn. 2. Resolving that twiddly stitch when you eventually come back to knit through it.
But if it really was that plain and simple, I’d be home and dry and onto the easy body part of my sweater by now, and not sitting here having to listen to your nonsense about tragic Russian princesses and shoulder curves.
Look, there are 3 things to nail down. Just 3: the area that you’re working the short rows across, the technique that you use to do the turn, and the way that you resolve the turned stitch when you get back to it. Imagine they’re all different parts of instructions about how to find your way home. They just make much more sense if you can see a map of the whole area with the route marked out, than if you’re blind-folded and repeatedly told how to turn a corner and where to turn. And..
Oh no, not another And…
This is actually the main thing and it’s what I was trying to tell you before. …And you make the journey all in one go. Each turn you make is related to the last turn so doing the turns all in one sitting is just going to make much more sense than if you keep stopping and starting and forgetting where you got to last time.
The short rows section of your pattern is likely to be less than 16 rows. It’s really not very long. Take a few minutes to see where it’s going before you begin. Even draw it out to see where the stitch markers are that you’re working between and beyond. And yes, you will also need to nail the short row turning technique in your pattern but we don’t need to get into that here. There are a bejillion videos to show you how to do those (although my personal favourites are by Patty Lyons). Whatever the case I know you’ve got the technique – you really have! You just need to know where you’re going with it.
And don’t stop in the middle. Got it?
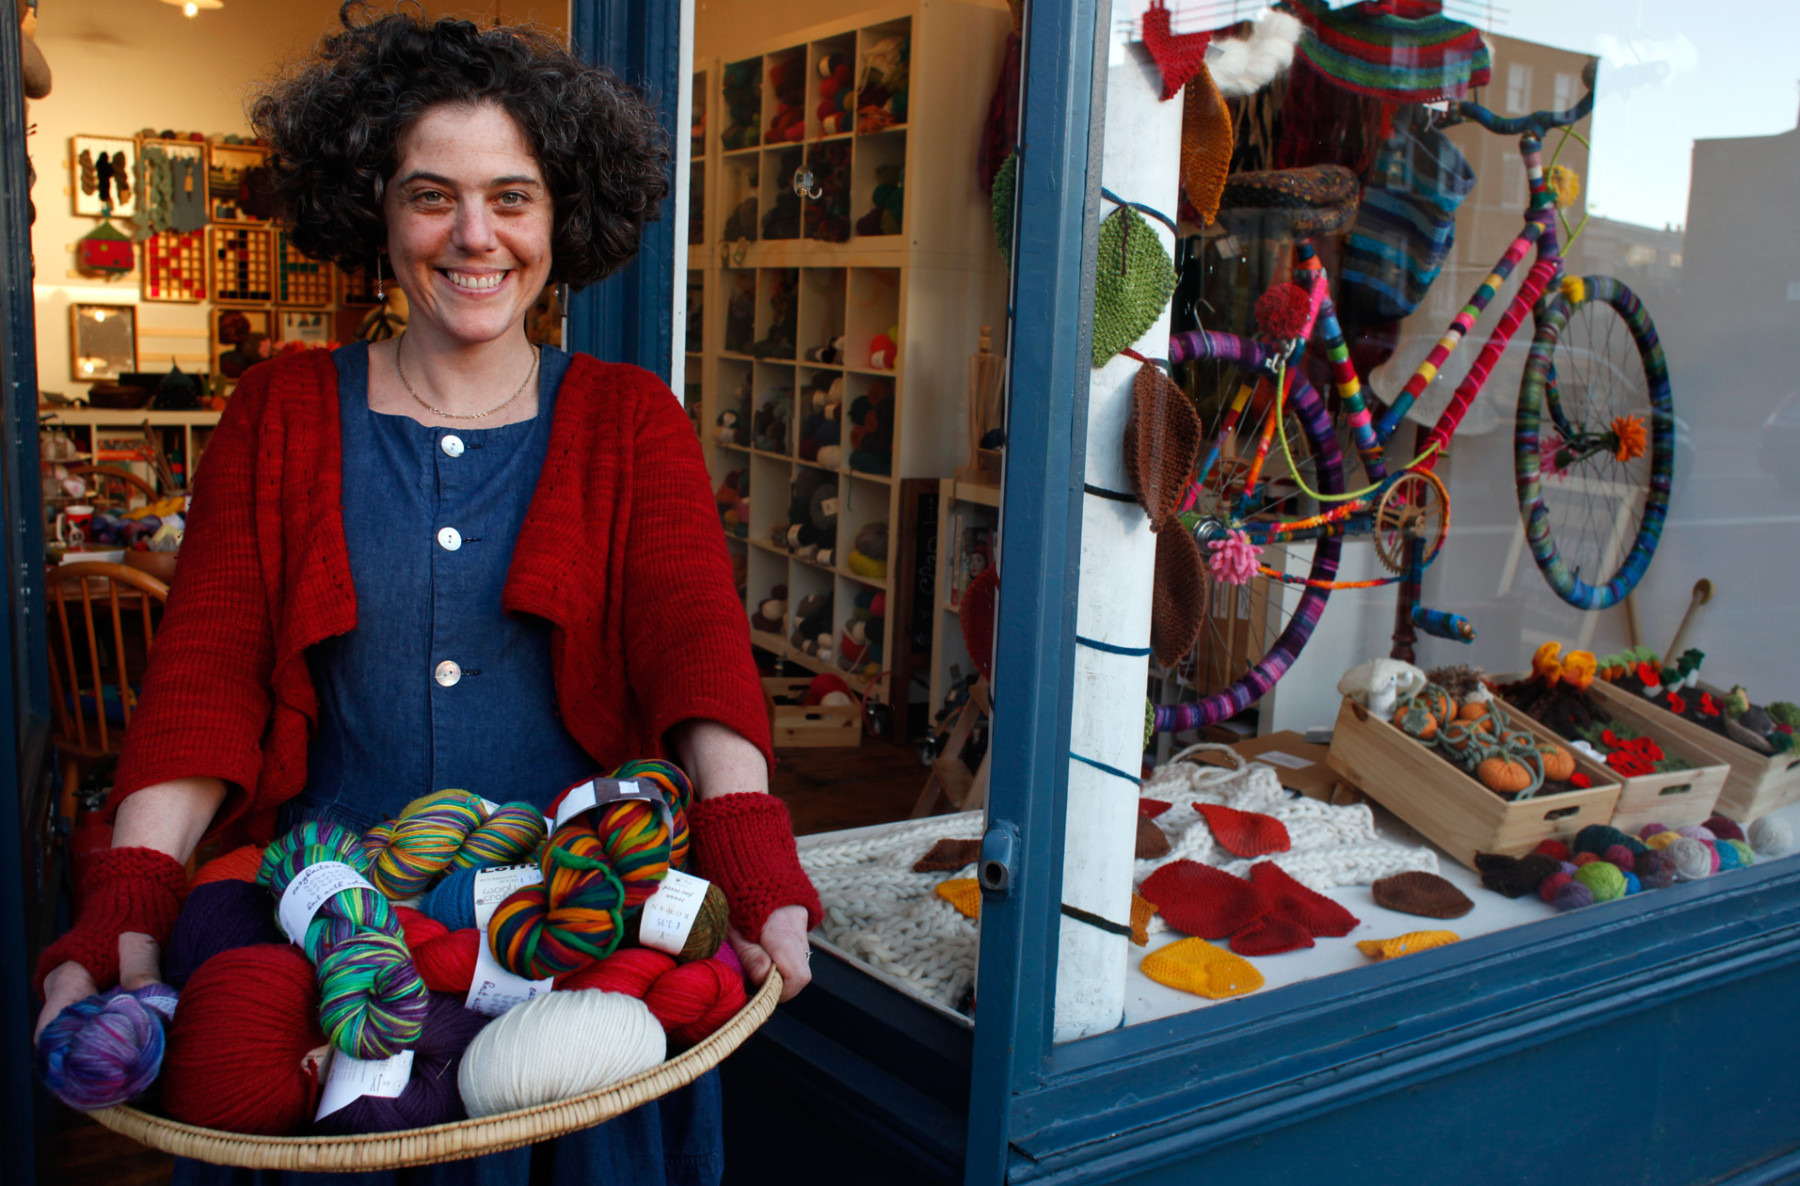
With warm thanks to Susie Bell whose nudge was in just the right direction to make this post happen. Other newsletter post nudges always welcome and gratefully received – just write to news@wildandwoollyshop.co.uk.